5 iPhone Photography Tips for Stunning Photos Every Mom Should Know!
Enhance your photos with these wonderful and powerful iPhone photography tips. Take stunning family pictures with your phone.
It’s a moment I’m pretty positive most parents have had. You’re scrolling through Instagram and come across a stunning family picture. No problem, you think. I have a good phone. I could easily recreate that. Then, you go outside, find the perfect location, hit the shutter button, and then realize it’s nowhere close to the same quality. It bothers you each time you go to use your phone. Was it a filter? Do they just have a newer phone? This doesn’t mean I have to switch to Android, does it? Before you do anything too terribly drastic, I’m here to give you some tips. As professional photographers and moms, we love working with parents to teach them how to get better quality images that look so good, they might as well be professional. Here are some iPhone photography tips and tricks we think every parent needs to know!
5 iPhone Photography Tips For Stunning Photos Every Mom Should Know
Find Great Lighting
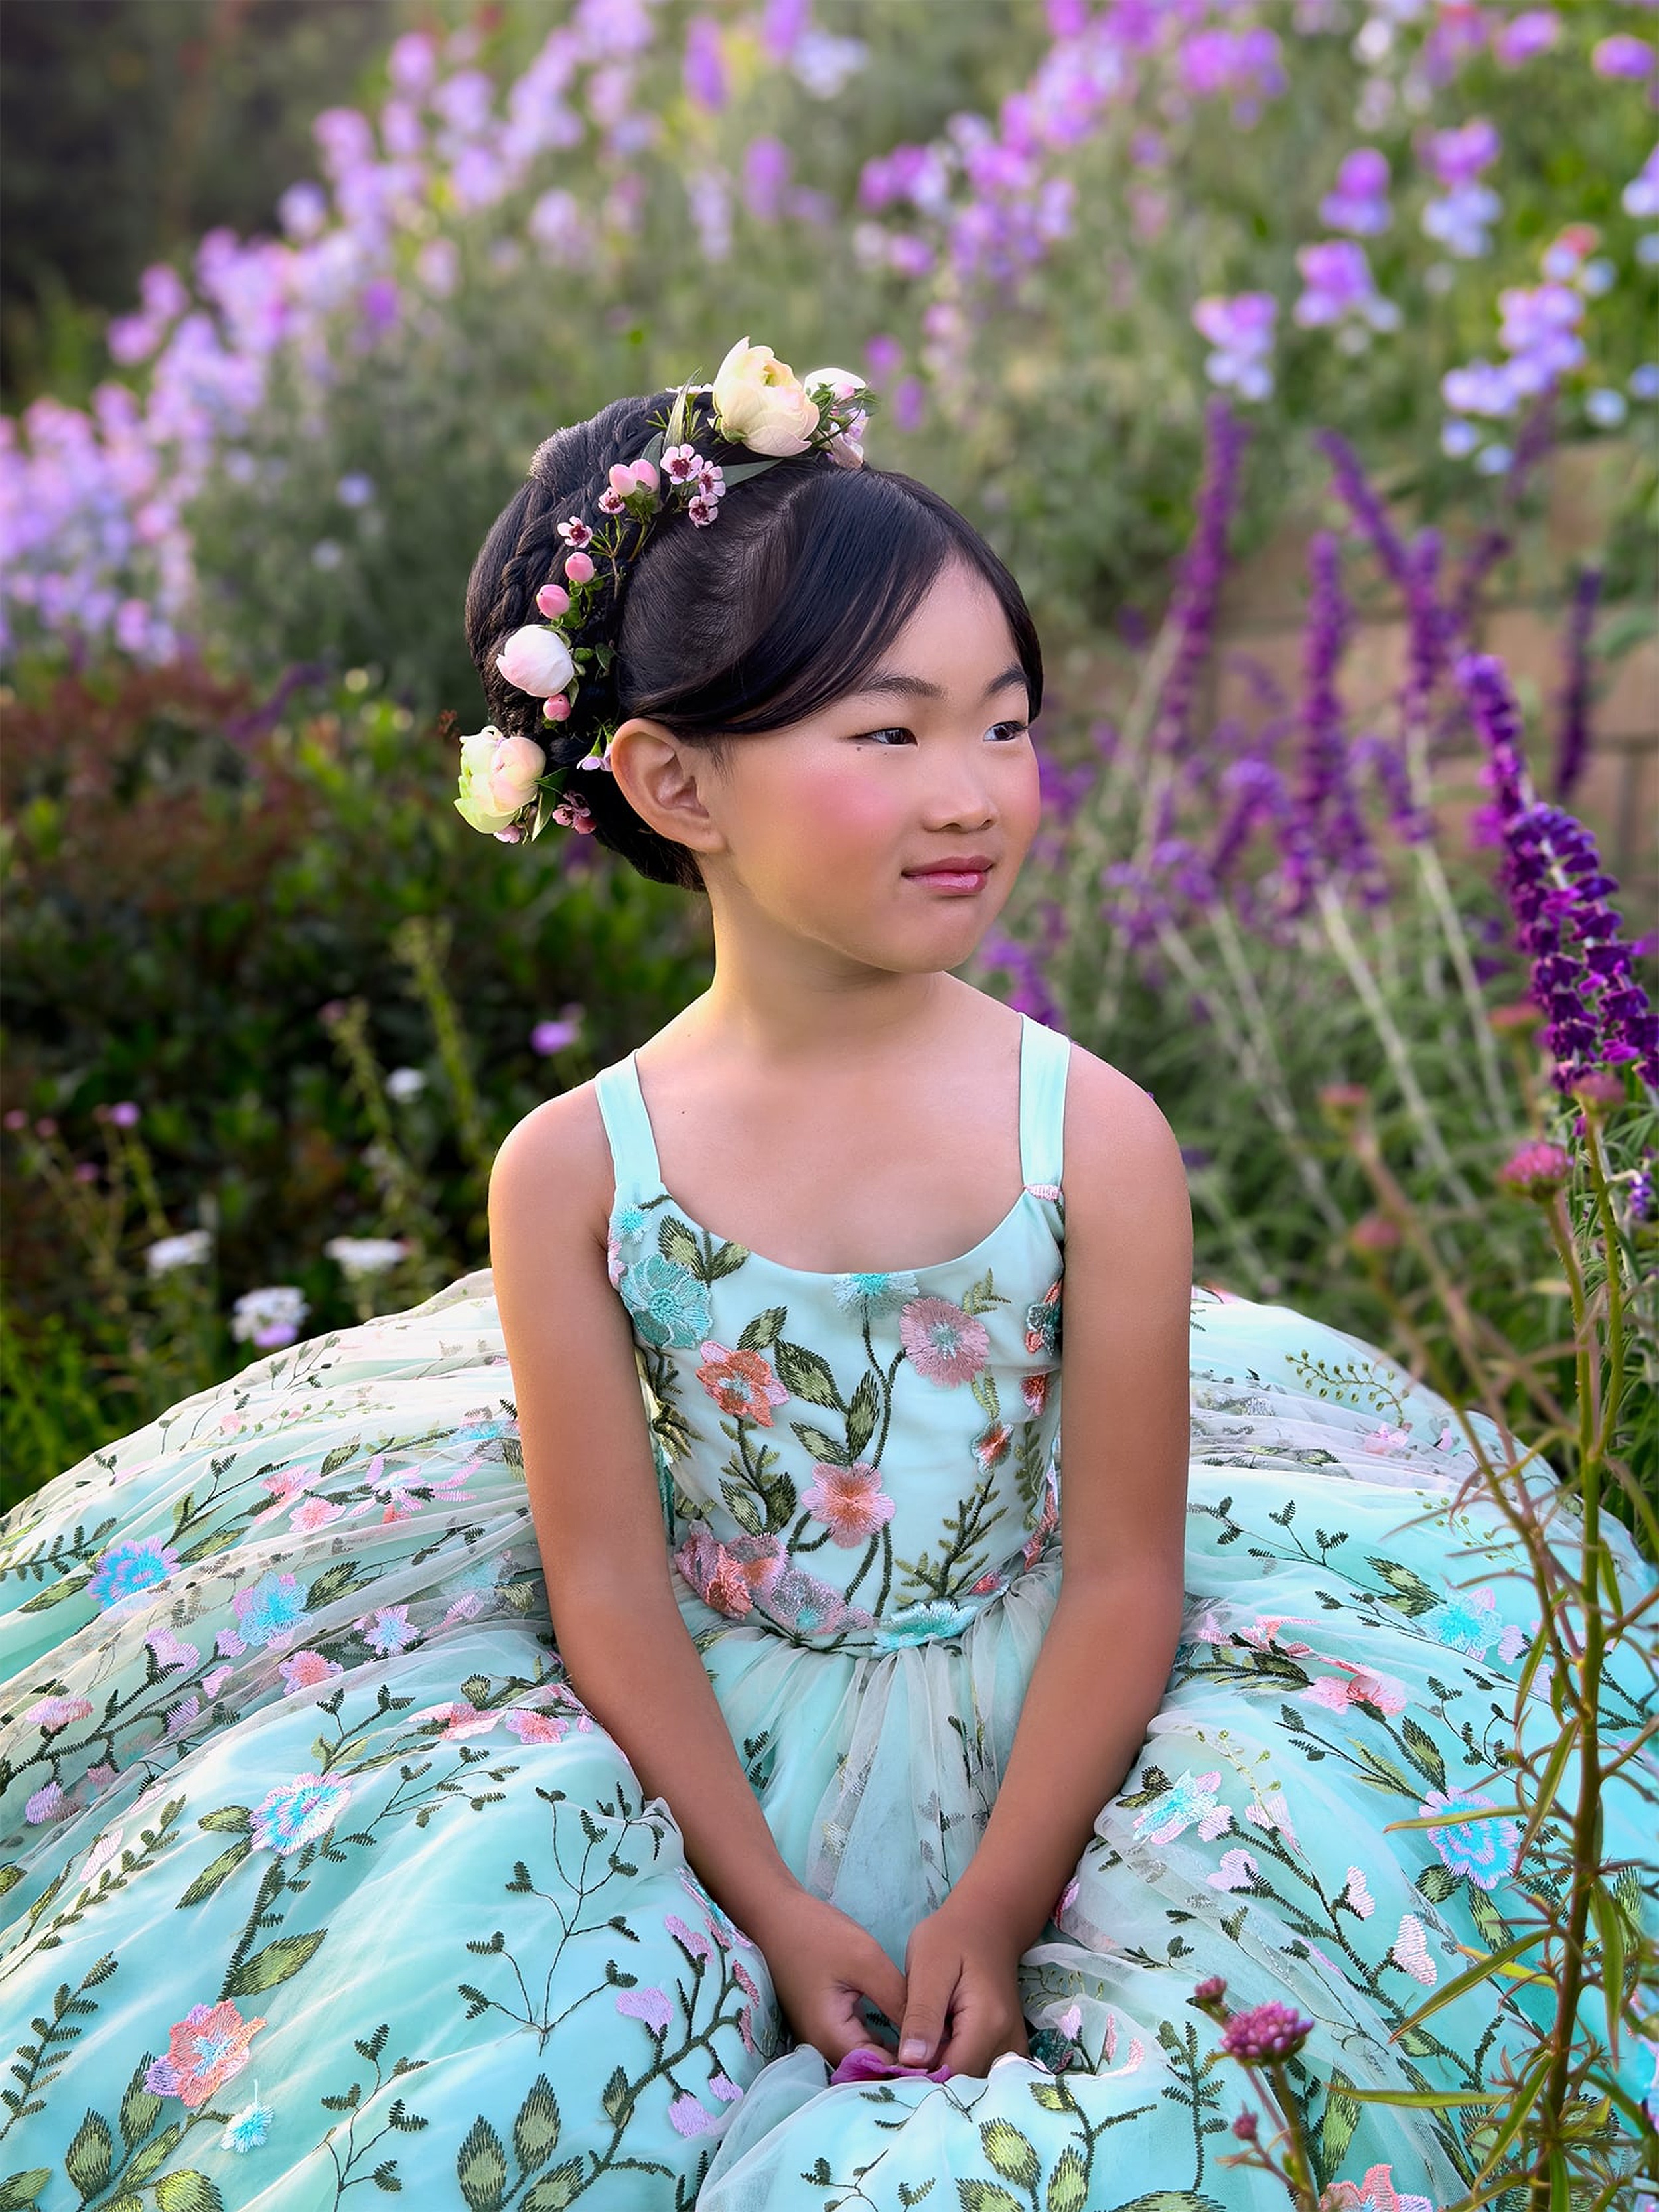
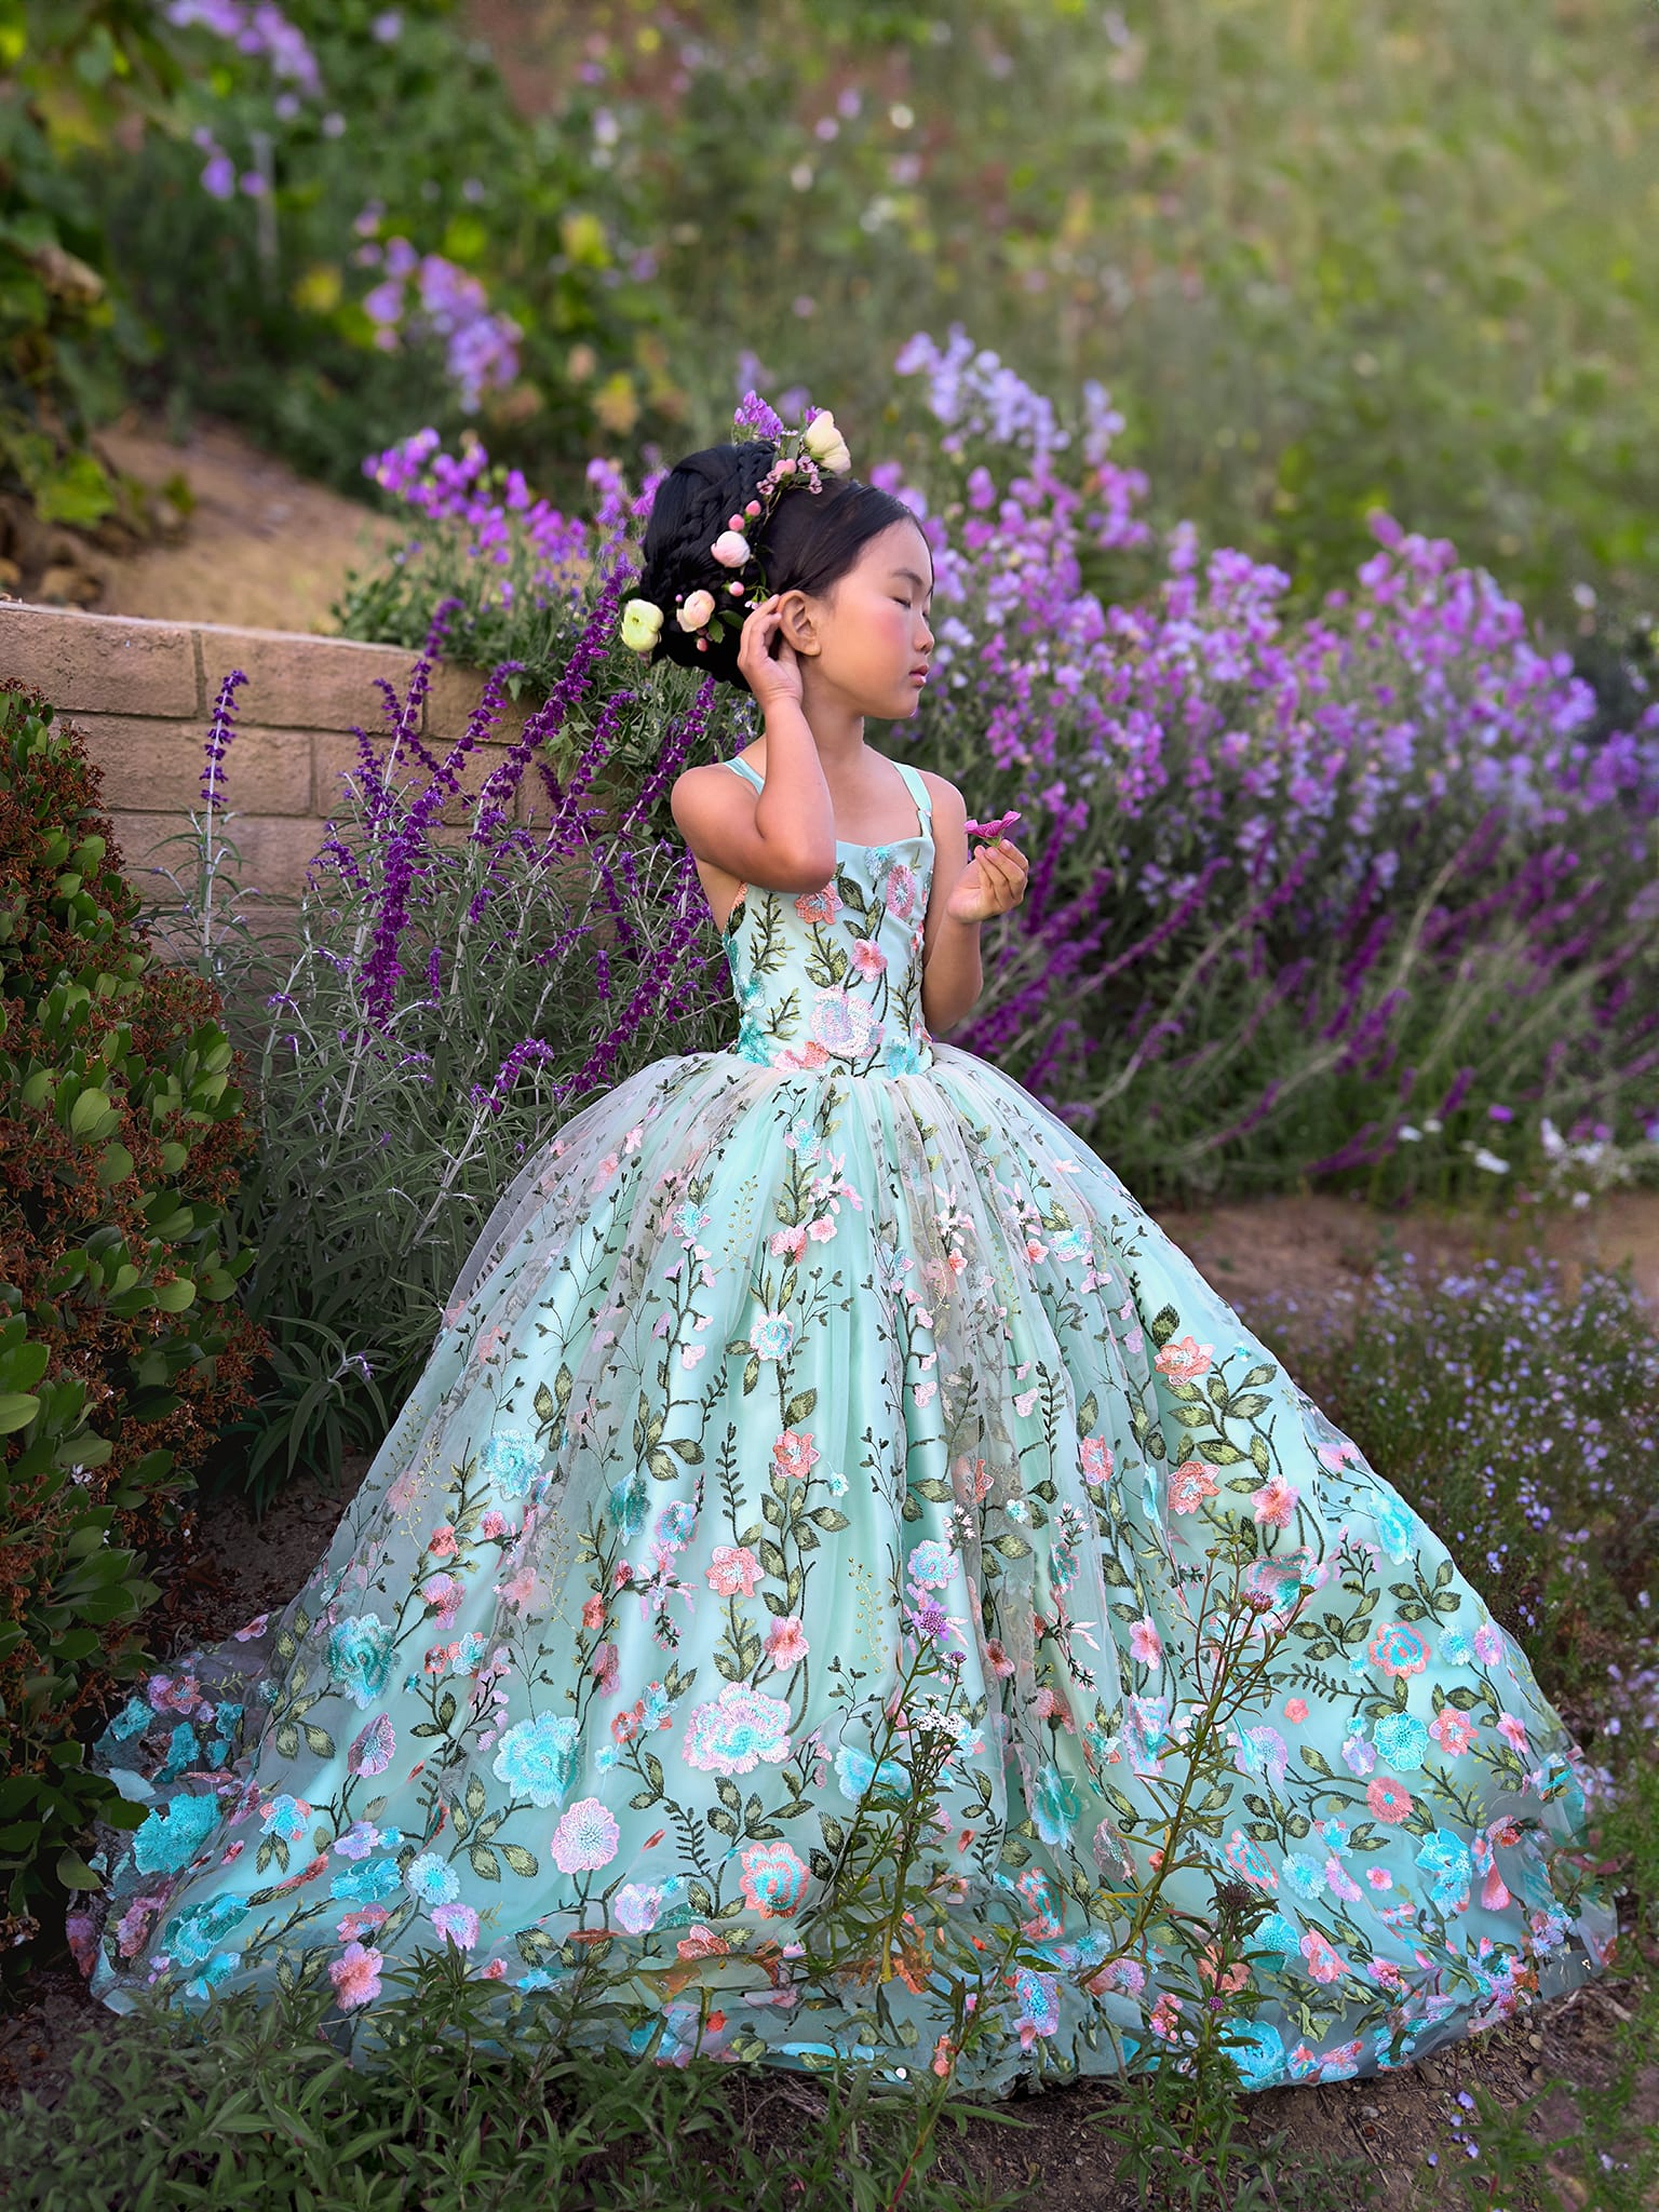
Our first iPhone photography tip focuses on lighting. It’s not a secret that every good picture first requires good lighting. The only issue is how to find it. For starters, we want you to head on over to your flash and disable the automatic button. Yes, flash is good in some situations, but for most pictures, it’s just going to be awkward and jarring. Soft lighting is going to be your new BFF. This is essentially when the light is diffused in just the right way, kind of like a lampshade and a lightbulb. You want your subject in a well-lit area without them having too much direct light.
Similarly, when you take outdoor pictures, the end-of-day golden sunlight tends to be preferable to the overhead sun. Remember, you can always adjust darker pictures in editing, but there’s not much you can do for pictures that are too bright. And if you need a little extra help with lighting, you can buy a diffuser that will spread out the light more evenly on your subject.
Turn Your iPhone Into a DSLR With Portrait Mode Using These Photography Tips
Portrait Mode on the iPhone is one of the greatest inventions in recent years! It instantly adds some depth by taking the subject, bringing it into focus, and blurring out the background. It brings out rich details while creating an instantly frame-worthy picture. You’re going to get all the capabilities you would normally find in an expensive lens without the added cost. Plus, it’s exceptionally easy to figure out! You can just go into your camera and slide from Photo mode into Portrait mode. From there, you can adjust it however you’d like.
If you want to adjust how much the background is blurred, you can click on the f in the upper right corner and use the slider right beneath the image to change it. The camera also will make it easy to know what you need to change for a better picture. If you could use a little less distance, it will tell you to move closer so you can get your perfect photo every time!
Use the Grid to Follow The Rule of Thirds
One of the first photography tips every photographer learns, even with an iPhone, is the Rule of Thirds. This is going to help you perfect your composition, add depth, and lead the viewers’ eyes to exactly where you want them. While it might seem a little complicated, we promise that it’s a breeze to figure out. The very first thing you’ll want to do is turn on the grid on your phone’s camera. You can do this by going to your Settings, scrolling down to Camera, and then toggling on Grid in the Composition setting. Now, there’s a 3x3 grid on your camera.
You can use it by playing with the angles until your subject is inside these lines. If you want to get really fancy with it, try using some leading lines. These are essentially just natural lines that help viewers look right where you want them. If you’re outside, you can angle your portrait so that things in the background, such as fences, pathways, or branches, lead toward your subject.
Clean Your Lens
Okay, so this one might seem like one of the most basic iPhone photography tips, but you’ll be amazed at how often your camera lens is dirty enough to affect your image’s quality. This can especially be a problem when your infant or toddler is going through a grabby phase and can’t see your phone without instantly reaching for it. Basically, if all your pictures seem weirdly fuzzy, it’s time to clean your lens. If you’re in a pinch, you can always use a soft fabric such as your shirt to quickly wipe it down and get back to taking pictures. Our suggestion, however? Invest in a microfiber cloth you can just throw in your diaper bag or purse so you can always have it around. You can buy one in the glasses section at stores such as Target. That way, you’ll have a quick solution that will get you results without damaging your lens.

Download an Editing App
Most of the time, you see those perfectly lit pictures on your favorite influencer’s grid; just know they probably used some editing software to make them look that way. If you don’t feel like figuring out a new app, you can use the basic software that’s included in your iPhone. Once you take your picture, you can click the Edit button and adjust basic features, including exposure, white balance, contrast, and saturation. If you want a little more control, however, you will likely want to download a third-party app. Some popular options include Lightroom, VSCO, Snapseed, and Mextures. You can also find ones like A Color Story that let you create your own filter and quickly apply it to your pictures so you can curate a style without much added time.
At first, editing is going to feel a little overwhelming, but we promise it gets easier over time. Play around with the settings. See what you like.
Enjoy Capturing Beautiful Photos Of Your Little Ones With These iPhone Photography Tips
With these iPhone photography tips, you can take gorgeous, high-quality pictures and freeze this time forever. And for more help becoming an expert at iPhone photography, join our Momographers program!
While you're here, don't forget to join our moms group for even more tips and tricks! Also, be sure to check out more blog posts below!
- 7 Secrets You Need to Know For iPhone Photography Editing!
- 3 Ways To Take Hands-Free Photos On An iPhone
- iPhone Photography School: Take Amazing Selfies With Your Kids!
